Click through to see what’s inside the June 2019 Simply Earth Essential Oil Recipe Box! This month’s theme is summer, with everything you could want inside your home, as you’re traveling, or simple at the beach.
Click through to see what’s inside the June 2019 Simply Earth Essential Oil Recipe Box! This month’s theme is summer, with everything you could want inside your home, as you’re traveling, or simple at the beach.
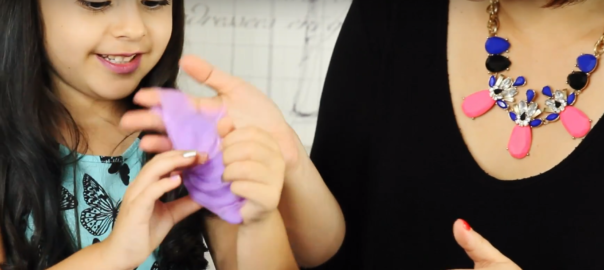
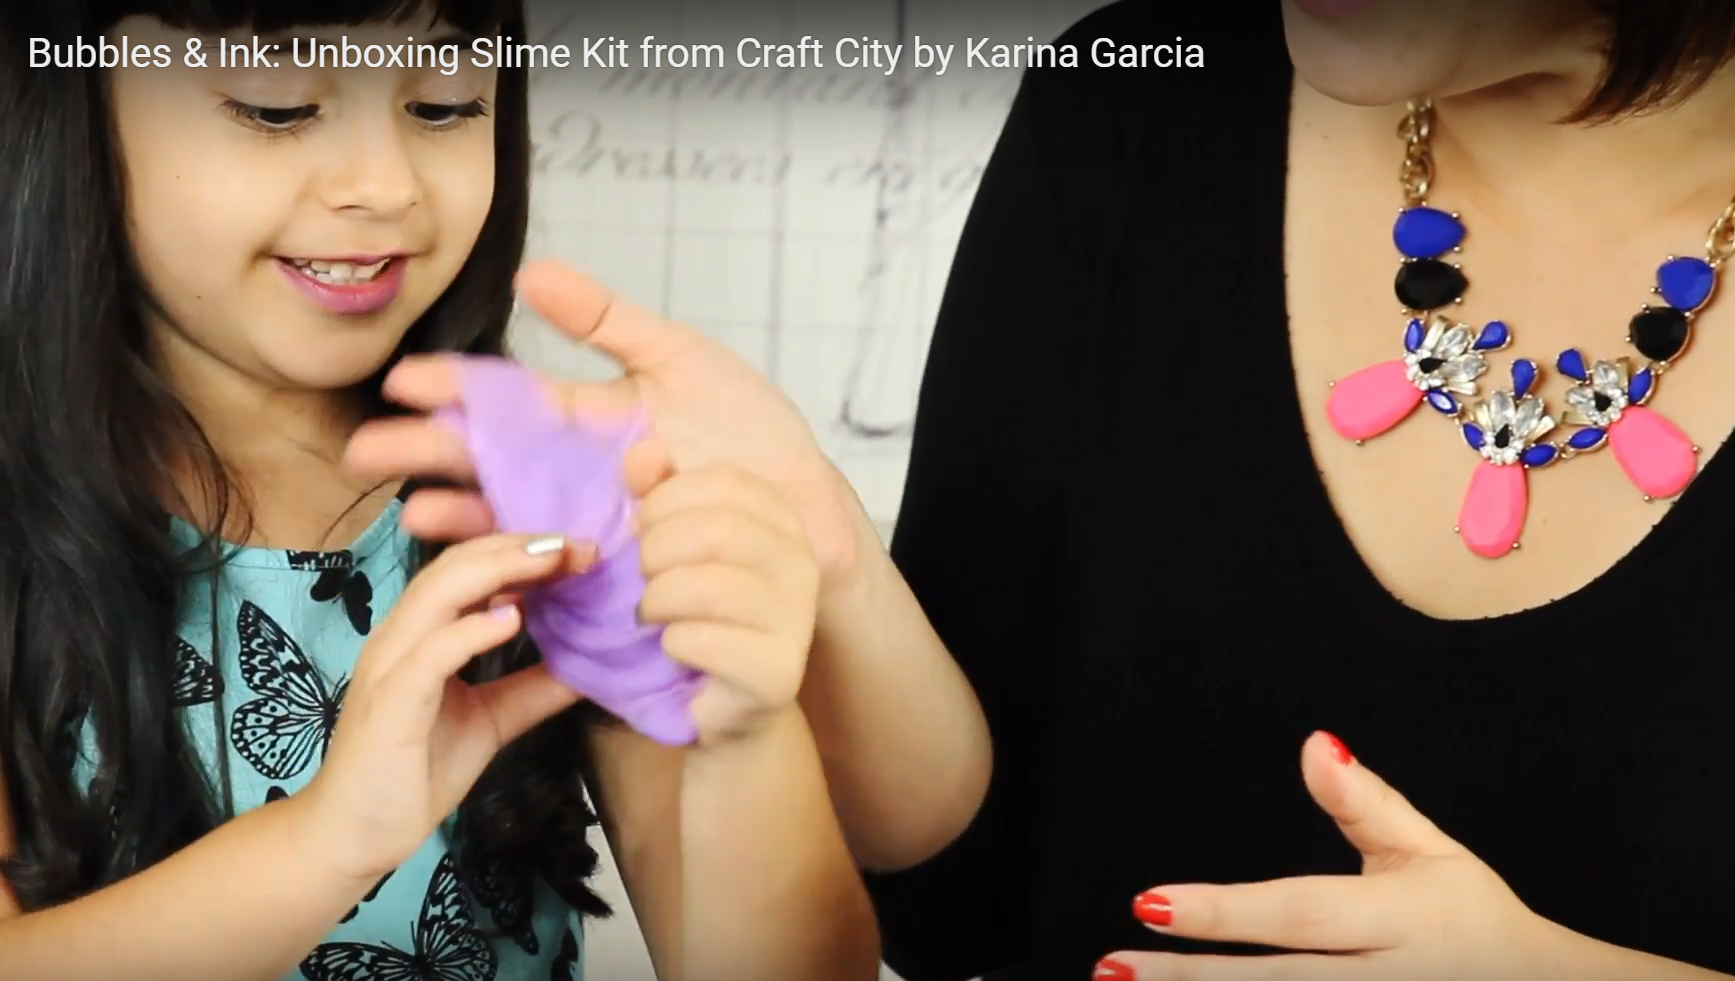
Lucy and I open up a box full of goodies from Craft City by Karina Garcia. Video just ahead.
Just in time for Valentine’s Day, Snow Fox Skin Care is sharing a DIY Strawberry Peel. Watch the video and get the full recipe in this post.
Many thanks to Jeremy Sheer for sending in pics of his own Assassin’s Creed Hoodie (below). Jeremy followed my January post and made his own hoodie, complete with beak and red lining. If you have a fanboy in your life, then you’ll be able to relate to my dilemma of trying to find this particular hoodie for my husband as a Christmas gift. Here it is again for your creative inspiration. Best of luck to those of you who’d like to recreate it. Send me pics if you do. I’d love to see them.


 I can’t get enough of the DIY projects lately. Maybe it’s the new year prompting me to get everything in order. Whatever the case, I’m riding the wave and seeing what these little hands can create.
If you’re having the same creative cravings, these sites should whet your appetite. If you have any other DIY sites, I’d love to hear about them. Leave me your favorites in the comments!
1) HOME: Blik Wall Decals – Because I tend to switch things around every few months, I love working with Blik’s decals; most of them are reusable and all are safely removable. They will send you your graphics in separate pieces to allow you to arrange as you see fit. Blik also works with companies like Threadless to bring you lots of great pop culture items (read: Pac Man on your wall) and countless designs from up-and-coming artists.
2) SELF: DIY Cosmetics – I could probably do this all day. There’s nothing like the freedom to create the exact color and product you want. DIY Cosmetics, “a green company”, has everything you need to customize that exact shade of lipstick you just can’t seem to find anywhere else.
And if you need the moisturizer and lip balm to go underneath that new makeup, Made On: Skincare Products sells a kit to make your own. Their site offers recipes and instructional videos to guide you through the process.
3) FASHION: Fashion, at it’s very basic, relies on the right print and fabric. And if the right print isn’t out there, just make it! Spoonflower actually allows you to design your own print on premium natural fabrics with no minimum requirement and an easy $5 swatch option to be sure you’ve got it just right.
If you want something done right, do it yourself. So go ahead – now you can. 🙂
My husband and I decided to be a bit more frugal with our Christmas gifts this year, which inspired me to channel my inner Martha and create for him the ever-coveted (and perpetually sold-out) fanboy item du jour – the Assassin’s Creed Hoodie.
Now, I wish I could say I did it all myself, but it would have been truly impossible to create and assemble without the help of my blessedly patient grandmother. Without her, Tony would probably be wearing no more than a pinned-on patch of red stick figures scribbled in magic marker. So if you’re not an expert with a sewing machine, I strongly suggest asking someone for help.
Below, I give you our attempt at creating the Assassin’s Creed Hoodie from scratch with nothing more than some basic items and a simple sewing machine. I know not everyone has a Cuban Abuela handy, so if your embroidery skills are not up to couture fanboy status, you can always purchase an iron-on logo from sites such as scifigeeks.com or alltheragefaces on Etsy and place them on the hoodie as you prefer.
I hope the step-by-step process is easy for you to follow but please feel free to email me with any questions. I’d love to also see any pics of your completed versions. Best of luck and happy crafting!

![]()
![]()
![]()
![]()
![]()


![]()

![]()
What you will need:
1) A basic hoodie: You can find this at any Target or Walmart store for little more than $10. I purchased two because I wanted to be sure I had enough fabric to create the beak at the point of the hood. (This actually worked out because I was able to make two hoodies – one with a beak and the other without.)
2) A sketch of the Assassin’s Creed Logo or an iron-on patch.
3) A basic sewing machine and basic embroidery machine (only if you will be embroidering the logo instead of ironing it on). Note: You will also need threading in the colors of your choice and paper cloth backing if you choose to embroider the logo.
4) An alphabet in your preferred font.
5) A pencil, ruler, pair of scissors, some pins and tracing paper.
6) An iron.
How to do it:
1) Place the hoodie on a flat surface and make sure it is free of any wrinkles or debris. Lightly iron if needed. Set aside.
2) Take the extra hoodie and carefully remove the stitching from the front pocket to release the fabric from the body of the hoodie (You can now use this as a second hoodie with a different logo).
3) Fold the fabric into the desired size and shape of the beak you will be attaching to the hood. Pin in shape and set aside. (If you will be ironing on the patch, skip ahead to step 8.)
4) Take your pencil and tracing paper and sketch out the logo. You can print out the logo and trace over it to make things easier (I had to eyeball it and fold it in half to ensure symmetry because I didn’t have a printer handy. Tracing it should be much easier and take less time. Also, if you will be making a second hoodie, you can use the alphabet to trace the year like we did in the 1499 version.)
5) Transfer logo sketch to paper cloth for embroidering.
6) Take ruler and carefully measure center of chest for pinning. Pin the paper cloth logo design to the hoodie to keep it in place while embroidering.
7) Embroider logo in desired color (we used red). Once embroidery is complete, carefully remove pins, peel off excess paper cloth and trim any excess string.
8 ) Once you have your logo in place, take the beak and carefully pin it to the hood. Use a basic sewing machine to attach the beak. Once the beak is attached, remove the pins and iron lightly.
Voila! It may not be exactly the same as the commercial version, but those guys are starting to get a little annoying with their lack of inventory anyway.